
A windbreak net only works if it is still standing after the first storm. Pick the right porosity and you have chosen what the wind does; erect the structure badly and it ends up in the next field. Here is the installation side of a windbreak.

Most windbreak netting fails at the posts, not the net. The net itself — a UV-stabilized knitted HDPE — will outlast a badly built frame several times over. So the installation is where the work is: get the porosity right, put the posts close enough, and tension the net so it slows wind instead of becoming a sail.
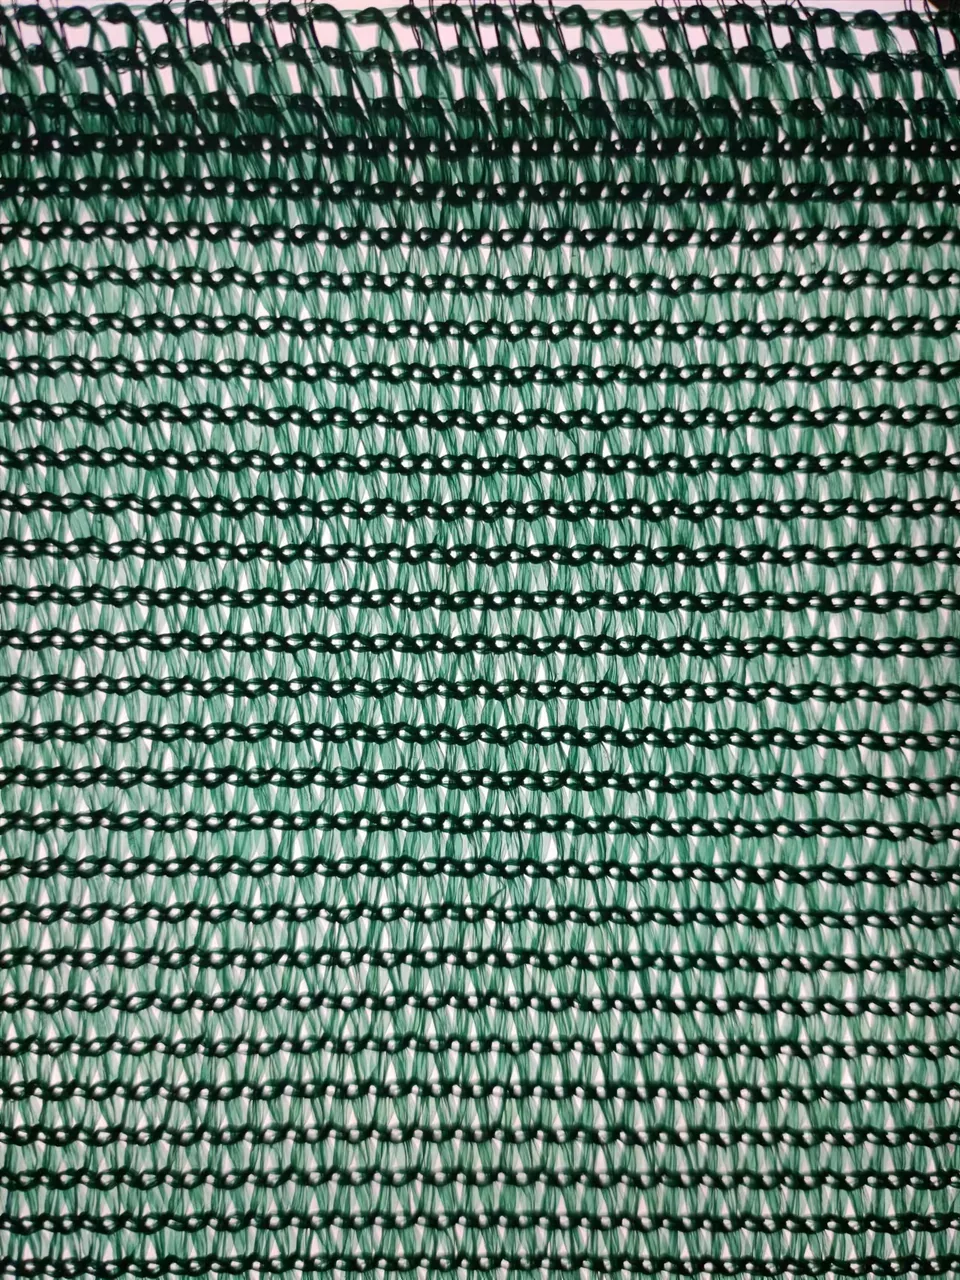
Before a single post goes in the ground, decide how open the net should be. Porosity is the share of the net that is open holes, and it is the biggest single factor in how well the windbreak works. A 50%-porosity net slows wind by roughly half at a useful distance and lets some air through, which stops it dumping the air on the far side as turbulence. We cover the full choice in our windbreak porosity guide — for most farms 50% is the sweet spot, so that is the number this installation assumes.
The net catches a lot of wind, so the posts carry a real load. Space them 2 to 3 metres apart and sink them to at least a quarter of their above-ground height — a 2 m post wants half a metre in the ground, more in soft soil. The height of the finished windbreak decides how far downwind it protects: a windbreak shelters roughly the next 10 to 15 times its height, so a 2 m fence protects 20 to 30 m of crop or paddock. Make the fence at least as tall as the thing you are protecting, and run it a little longer than the area at each end so the wind cannot curl around the sides.
Windbreak net should be pulled taut but not guitar-string tight. Run a top and bottom support wire between the posts, then fix the net to the wires — through the reinforced selvedge at the edges, not by poking through the mesh. Leave no sag, because a sagging net flaps in the wind, and flapping wears holes through the knit in weeks. A small amount of give is good: a net with a little flex lets wind load pass through instead of tearing at the fixings. Use UV-rated cable ties or clips every 30–40 cm along the wires, and overlap any net-to-net join by a full 15–20 cm so the seam holds in a gust.
Place the windbreak upwind of what you are protecting, and at least a metre or two clear of the crop or fence line so the slowed, slightly turbulent air has room to settle. For livestock, set it high enough that the sheltered zone covers the paddock, and keep it back from gateways so animals cannot rub against it. On an exposed site, consider a second, more open run a little further upwind — two lighter windbreaks filter the wind more smoothly than one solid one.
| Porosity | Wind reduction | Shelter pattern | Best for |
|---|---|---|---|
| 50% | 50–60% at 10× height | Even, low turbulence | Crops, livestock, general |
| 80% (open) | 30–40% | Gentle filtering | Hot climates, light breeze |
| Solid (<20%) | 70–80% near the fence | High turbulence, drops fast | Snow fence, dust control |
Notice the trap: a solid barrier cuts more wind right at the fence, but the air rolls over the top and dumps hard on the far side, leaving the very area you wanted to protect unprotected. A 50% net gives a gentler, deeper shelter — that is why it is the standard for crops and livestock.
The four we see most often: posts too far apart (the net sags and flaps), the net fixed through the mesh instead of the selvedge (it tears at the holes), no bottom wire (wind lifts the net and works it loose), and a solid barrier where a porous one was needed (turbulence kills the shelter). Each is cheap to fix at the start and expensive after a season of wear. If you would rather not do it twice, tell us your site and wind direction and we will spec the porosity, height and fixing pattern to match.
Space posts 2 to 3 metres apart and sink them to a quarter of their above-ground height. Wider spacing lets the net sag and flap, which wears holes through the knit.
At least as tall as what you are protecting. A windbreak shelters roughly 10 to 15 times its own height downwind, so a 2 m fence protects about 20 to 30 m.
Taut with no sag, but with a little flex. Run top and bottom support wires, fix through the reinforced selvedge, and leave a small amount of give so wind load passes through rather than tearing the fixings.
Upwind of the crop, a metre or two clear of the crop line, running longer than the field at each end so wind cannot curl around the sides. Two lighter windbreaks upwind work better than one solid one.
50% porosity, posts at 2–3 m, height equal to what you are protecting, and tension tight enough to stop flapping — that is the whole job. Tell us your site and we will spec the net and fixing pattern to match.