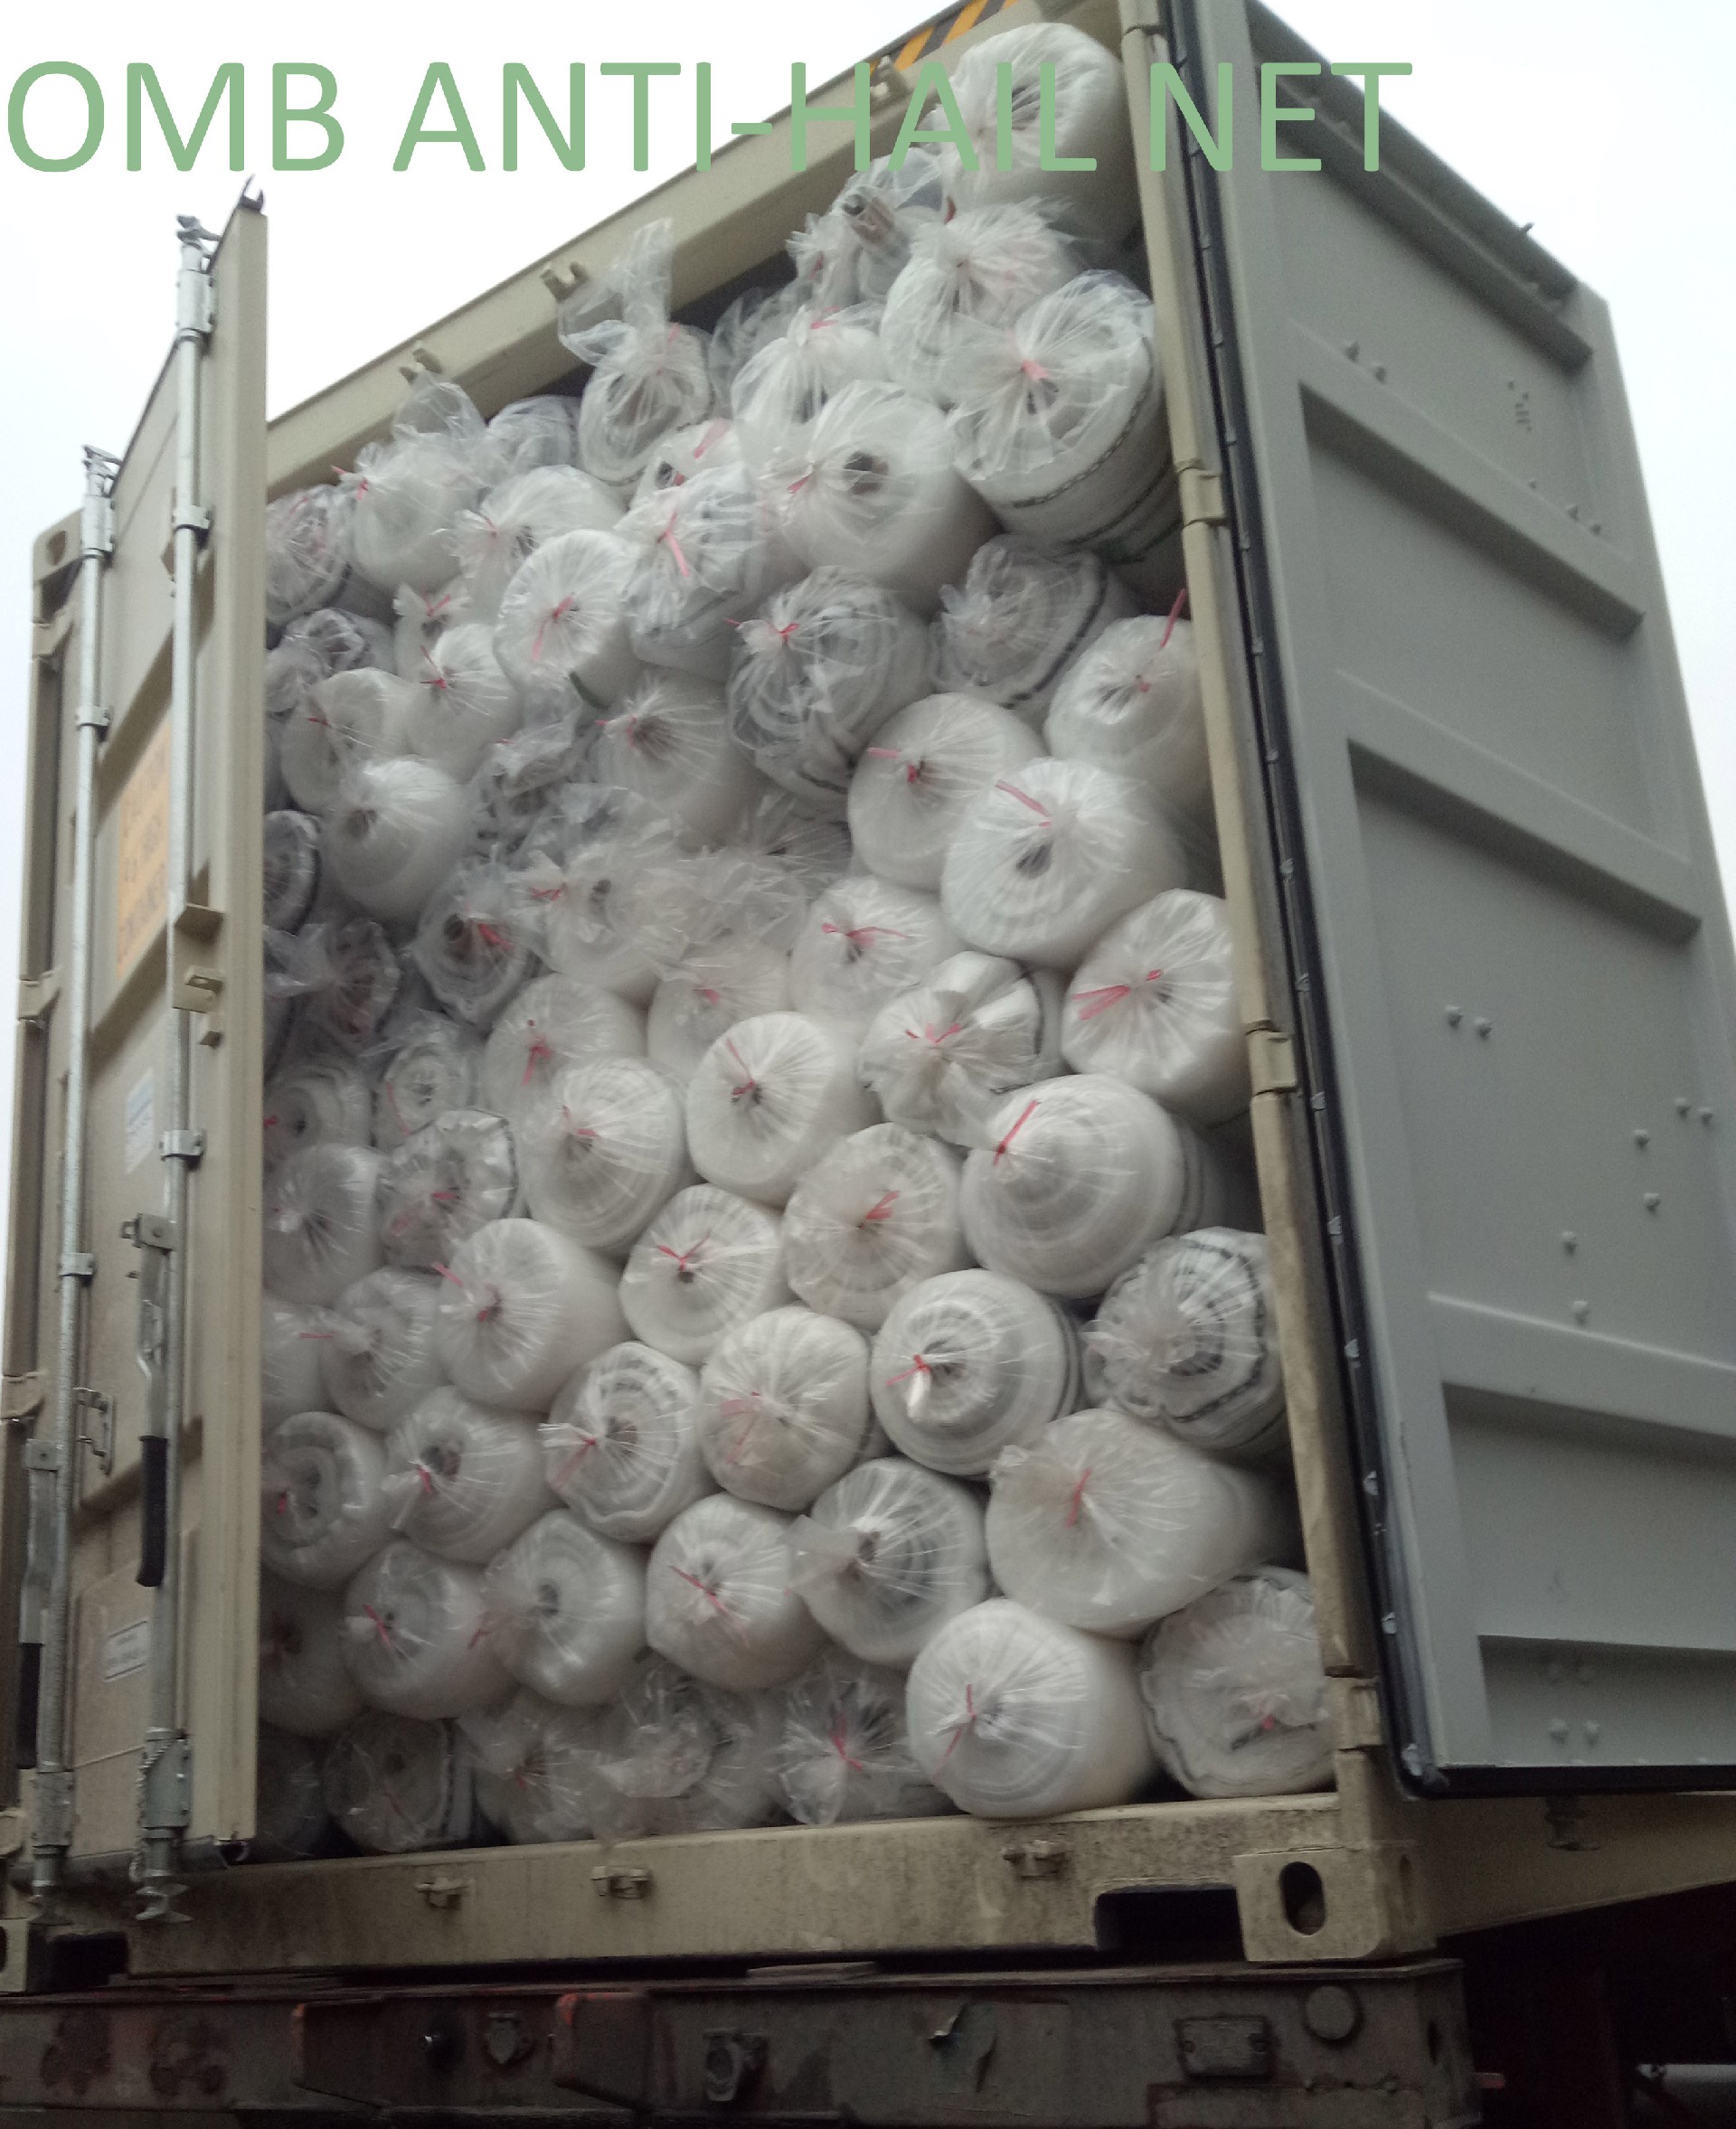
Anti-hail nets are typically installed using the following steps:
1. Preparation: Before installation, assess the area where the anti-hail net is to be installed. Ensure that the structure, such as poles or supports, is in place. Clear any debris or obstacles that may interfere with the installation process.
2. Measurements: Measure the dimensions of the area to determine the size of the anti-hail net required. Consider factors such as the shape and slope of the terrain, as well as any existing structures or crops that may affect the installation.
3. Anchoring: Anchor the supporting poles or structures securely into the ground. The type of anchoring method used may depend on factors such as soil type, wind conditions, and the size of the net. Common anchoring methods include concrete footing, ground stakes, or anchor plates.
4. Support system: Install the necessary support system for the anti-hail net. This may include ropes, wires, or cables that will hold the net in place and provide tension. Ensure that the support system is properly tensioned to ensure the net remains taut and effectively protects against hail.
5. Net installation: Unroll the anti-hail net over the designated area, ensuring it covers the entire area to be protected. Attach the net securely to the support system using clips, hooks, or other fastening methods. Ensure the net is stretched tightly and evenly to prevent sagging or gaps.
6. Edge fixing: Secure the edges of the net to prevent wind or other elements from lifting or damaging the net. This can be done using various methods, such as stitching, lacing, or using specialized edge fasteners designed for anti-hail nets.
7. Inspection: After installation, inspect the anti-hail net to ensure it is properly installed, without any damage or areas of


 英语
英语 西班牙语
西班牙语


